

Adobe Premiere Pro Tutorial in Hindi: Complete Video Editing Course
अगर आप video editing सीखना चाहते हैं, Adobe Premiere Pro Tutorial YouTube videos बनाना चाहते हैं, Instagram Reels और Shorts edit करना चाहते हैं, wedding videos तैयार करना चाहते हैं या professional video editing में career बनाना चाहते हैं, तो Adobe Premiere Pro एक महत्वपूर्ण video editing software है।
इस complete Adobe Premiere Pro tutorial in Hindi में हम video editing की शुरुआत से लेकर advanced workflow तक को step by step समझेंगे। यह guide beginners के लिए भी उपयोगी है और उन editors के लिए भी जो अपने existing editing skills को improve करना चाहते हैं।
इस course में हम सीखेंगे कि project कैसे बनाया जाता है, video और audio कैसे import किए जाते हैं, timeline पर clips कैसे arrange किए जाते हैं, cutting और trimming कैसे की जाती है, transitions और effects कैसे लगाए जाते हैं, audio को बेहतर कैसे बनाया जाता है, color correction और color grading कैसे की जाती है तथा final video को YouTube, Instagram, Facebook और दूसरे platforms के लिए export कैसे किया जाता है।
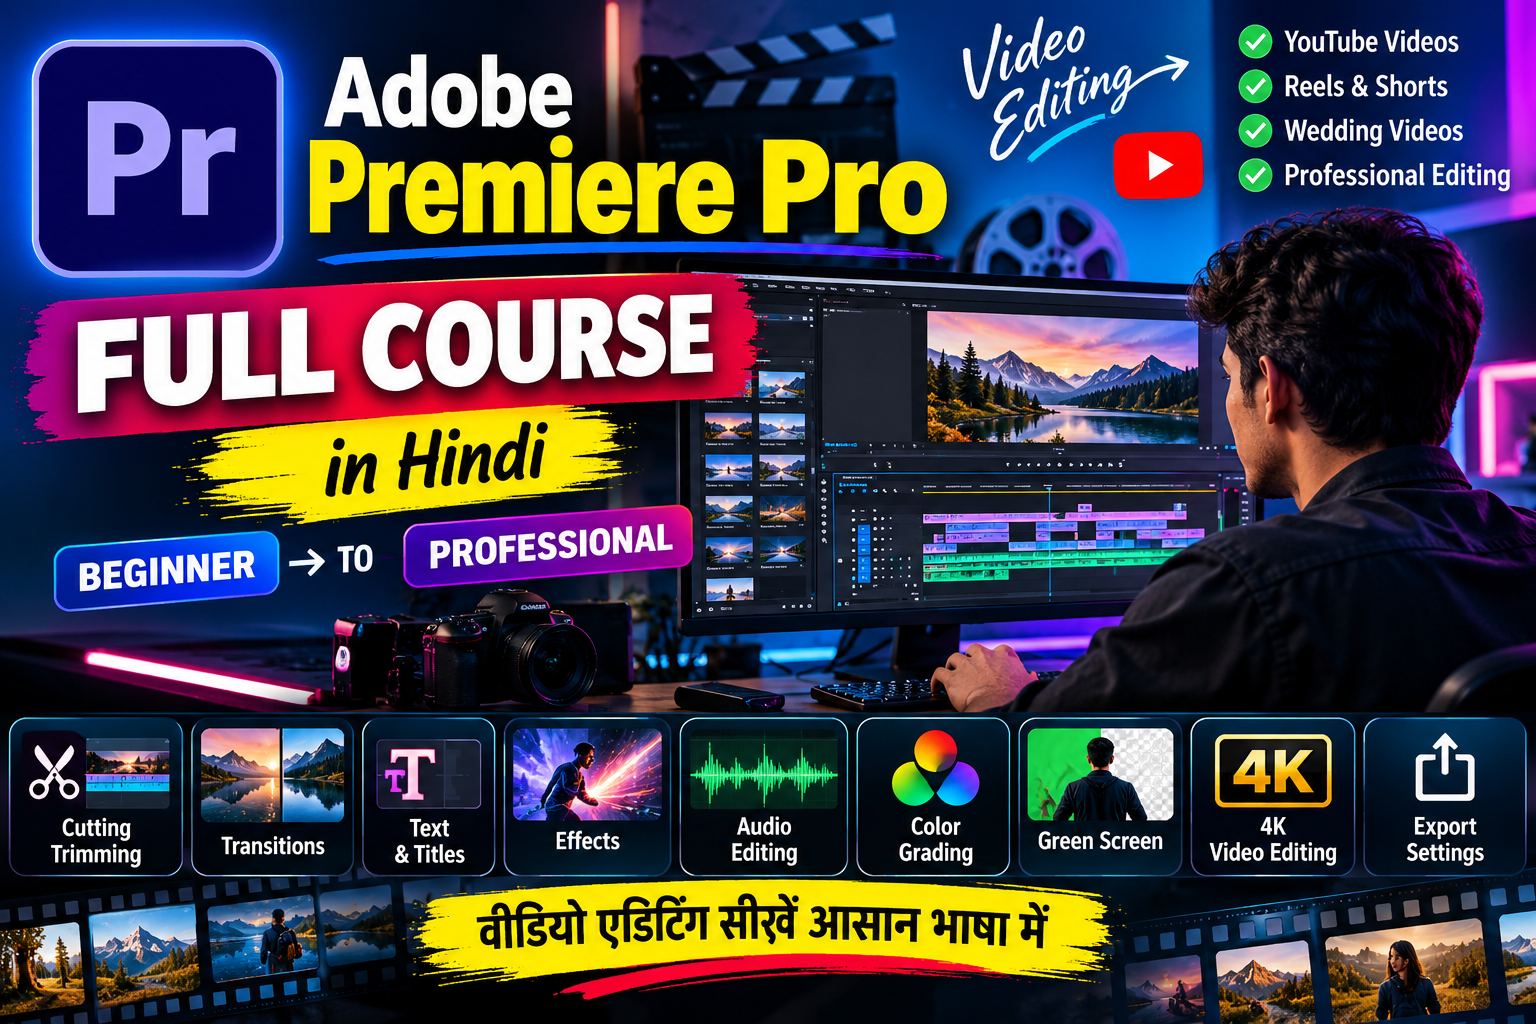
Adobe Premiere Pro क्या है? Adobe Premiere Pro tutorial in Hindi
Adobe Premiere Pro एक professional video editing application है जिसका उपयोग अलग-अलग प्रकार के video projects को edit करने के लिए किया जाता है Adobe Premiere Pro course।
इसके माध्यम से आप:
- YouTube videos edit कर सकते हैं
- Instagram Reels बना सकते हैं
- YouTube Shorts edit कर सकते हैं
- Wedding videos तैयार कर सकते हैं
- Documentary projects edit कर सकते हैं
- Music videos बना सकते हैं
- Interviews edit कर सकते हैं
- Educational videos तैयार कर सकते हैं
- Promotional videos बना सकते हैं
- Short films और अन्य video projects edit कर सकते हैं
Adobe Premiere के current versions में traditional editing tools के साथ कई AI-powered features भी उपलब्ध हैं। इनमें Object Mask, Generative Extend, Media Intelligence, Text-Based Editing और Enhance Speech जैसे tools शामिल हैं।
Adobe Premiere Pro Full Course – Course Roadmap
अगर आप Premiere Pro को properly सीखना चाहते हैं तो केवल effects सीखना पर्याप्त नहीं है। एक अच्छा editor बनने के लिए आपको complete editing workflow समझना चाहिए।
हम इस course को इन major sections में divide कर सकते हैं:
- Premiere Pro interface
- New project creation
- Media import
- Project organization
- Sequence creation
- Timeline editing
- Cutting and trimming
- Video transitions
- Audio editing
- Text and titles
- Effects
- Motion and animation
- Masking
- Green screen editing
- Color correction
- Color grading
- Captions and subtitles
- Multicam editing
- AI-powered editing tools
- YouTube video editing
- Reels and Shorts editing
- Wedding video editing
- 4K video workflow
- Export settings
- Professional editing workflow
- Adobe Premiere Pro full course
1. Adobe Premiere Pro Interface समझें
Premiere Pro सीखने का पहला step इसका interface समझना है।
Software खोलने के बाद आपको अलग-अलग panels दिखाई देते हैं। इन panels का सही उपयोग आपकी editing speed को काफी improve कर सकता है।
मुख्य areas में आपको Project panel, Source Monitor, Program Monitor, Timeline और Audio-related controls जैसे sections मिल सकते हैं Adobe Premiere Pro Full Course।
Project Panel How to learn Premiere Pro
Project Panel में आपकी imported files दिखाई देती हैं।
आप इसमें:
- Videos
- Images
- Music
- Voice recordings
- Sound effects
- Graphics
को व्यवस्थित कर सकते हैं।
बड़े projects में folders या bins बनाना useful होता है।
उदाहरण:
Video
Audio
Music
Images
Graphics
Exports
इस तरह project organized रहने से editing के दौरान files ढूँढना आसान होता है।
2. नया Premiere Pro Project कैसे बनाएं?
Premiere Pro में नया project बनाते समय सबसे पहले project का नाम और storage location तय करें।
Project को ऐसे folder में save करना बेहतर होता है जहाँ आपके media files और project files को व्यवस्थित रखना आसान हो।
एक practical folder structure ऐसा हो सकता है:
Wedding_Project
- Project
- Video
- Audio
- Music
- Images
- Graphics
- Exports
यह organization खासकर बड़े wedding, documentary या YouTube projects में बहुत उपयोगी हो सकती है।
3. Video और Audio Import करना
Editing शुरू करने के लिए आपको अपनी media files project में import करनी होंगी।
आप अपने:
- Camera footage
- Mobile videos
- Screen recordings
- Images
- Music
- Voice-over
- Sound effects
को project में add कर सकते हैं।
Import करने के बाद files को categories के अनुसार organize करें।
अगर project में hundreds of clips हैं तो बिना organization के editing करना मुश्किल हो सकता है।
4. Sequence क्या है?
Sequence वह workspace है जहाँ आपका actual video edit तैयार होता है।
Timeline में video clips और audio clips को arrange करके final video बनाया जाता है।
Sequence बनाते समय अपने source footage के resolution और frame rate को ध्यान में रखना जरूरी है।
उदाहरण के लिए:
- Full HD video
- 4K video
- Vertical Reel
- YouTube video
- Cinematic video
इनके लिए अलग-अलग sequence requirements हो सकती हैं।
5. Premiere Pro में Basic Video Editing
अब हम actual editing शुरू करते हैं।
सबसे पहले unwanted parts को remove करना सीखें।
एक basic editing workflow में आप:
Import → Select → Cut → Arrange → Trim → Add Audio → Add Effects → Color → Export
जैसे steps follow कर सकते हैं।
एक अच्छा editor हर clip पर effect लगाने के बजाय story और pacing पर ध्यान देता है।
6. Cutting और Trimming कैसे करें?
Video editing की सबसे important skills में से एक cutting and trimming है।
अगर किसी video clip में unwanted section है तो उसे remove किया जा सकता है।
आपको इन concepts को समझना चाहिए:
- Cut
- Trim
- Ripple Edit
- Roll Edit
- Slip
- Slide
इन tools की practice करने से timeline पर editing speed बढ़ सकती है।
Professional Editing Tip
हर shot को केवल इसलिए timeline में मत रखें क्योंकि वह अच्छा दिखाई देता है।
खुद से पूछें:
क्या यह shot story को आगे बढ़ा रहा है?
अगर answer नहीं है, तो clip को shorten या remove करने पर विचार करें।
7. Video Transitions
दो clips के बीच transition लगाने से scene change को visually smooth बनाया जा सकता है।
Common transitions में शामिल हैं:
- Cross Dissolve
- Dip to Black
- Dip to White
- Film Dissolve
लेकिन professional editing में हर cut पर transition लगाना जरूरी नहीं होता।
कई बार simple cut ही सबसे natural result देता है।
इसलिए transitions का उपयोग video की requirement के अनुसार करें।
8. Premiere Pro में Text और Titles
आप अपने video में titles और text graphics add कर सकते हैं।
इनका उपयोग किया जा सकता है:
- YouTube titles
- Name captions
- Location text
- Wedding names
- Intro titles
- Subtitles
- Social media captions
- Educational labels
Text को readable रखना बहुत जरूरी है।
बहुत ज्यादा fonts, colors और animations इस्तेमाल करने से design confusing हो सकता है।
9. Audio Editing
अच्छी video editing केवल visuals पर depend नहीं करती।
Poor audio quality viewer experience को प्रभावित कर सकती है।
Premiere Pro में आप audio clips को:
- Cut
- Trim
- Adjust
- Mix
- Fade
- Balance
कर सकते हैं।
आप voice-over, background music और sound effects को अलग tracks पर organize कर सकते हैं।
Audio Editing Workflow
Voice → Clean → Balance → Music → Sound Effects → Final Mix
Dialogue को music से दबने न दें। Voice और background music के बीच उचित balance बनाए रखना जरूरी है ।
10. Voice और Dialogue को बेहतर बनाना How to learn Premiere Pro
Interview, tutorial और talking-head videos में clear dialogue बहुत important होता है।
Current Premiere workflows में AI-powered Enhance Speech जैसे tools available हैं, जो dialogue clarity improve करने और unwanted background noise को reduce करने में मदद कर सकते हैं।
फिर भी final result सुनकर manually check करना जरूरी है।
AI tool को automatic solution मानने के बजाय editing workflow का एक हिस्सा समझें।
11. Music और Sound Effects
Video में music mood बनाने में महत्वपूर्ण भूमिका निभाता है।
आप अलग-अलग sections के लिए:
- Background music
- Ambient sound
- Cinematic sound
- Whoosh
- Impact
- Transition sound
जैसे audio elements इस्तेमाल कर सकते हैं Premiere Pro Instagram Reels editing ।
लेकिन music चुनते समय licensing और usage rights जरूर check करें।
Copyright-free या properly licensed music का उपयोग करें।
किसी दूसरे creator की copyrighted music file को केवल download करके अपने video में इस्तेमाल करना safe नहीं माना जाना चाहिए।
12. Premiere Pro में Effects
Premiere Pro में आप clips पर visual effects apply कर सकते हैं।
Effects का उपयोग:
- Creative look
- Blur
- Sharpening
- Distortion
- Stylization
- Video correction
जैसे कामों के लिए किया जा सकता है।
लेकिन effects का उद्देश्य video को support करना होना चाहिए।
Professional editing में effect दिखाने से ज्यादा important है कि effect viewer को दिखाई भी न दे और video naturally बेहतर लगे।
13. Motion और Animation
आप text और visual elements को animate कर सकते हैं।
Basic animation के लिए:
Position
Scale
Rotation
Opacity
जैसे properties को keyframes के साथ control किया जा सकता है।
उदाहरण:
अगर आप किसी title को screen पर धीरे-धीरे लाना चाहते हैं तो opacity या position में keyframes का उपयोग किया जा सकता है।
14. Keyframes क्या हैं?
Keyframe animation का basic concept है।
मान लीजिए:
Start पर Scale = 80%
End पर Scale = 100%
Premiere Pro बीच की movement calculate कर सकता है।
इसी concept से आप:
- Zoom
- Pan
- Text animation
- Image movement
- Logo animation
- Opacity changes
जैसे effects बना सकते हैं।
15. Masking क्या है?
Masking का उपयोग video के किसी specific हिस्से को isolate या control करने के लिए किया जा सकता है।
उदाहरण:
- Face blur
- Background blur
- Object highlight
- Selective color adjustment
- Creative transitions
Current Premiere versions में AI-powered Object Mask जैसे tools masking और tracking workflow को आसान बनाने के लिए उपलब्ध हैं।
16. Green Screen Editing
Green screen footage को दूसरे background के साथ combine करने के लिए chroma key techniques का उपयोग किया जा सकता है।
Basic workflow:
Green Screen Video → Keying → Background → Edge Cleanup → Color Matching
Green screen footage shoot करते समय lighting even रखना महत्वपूर्ण है।
अगर green background में shadows और uneven lighting बहुत ज्यादा हो तो keying process अधिक difficult हो सकता है।
17. Color Correction क्या है?
Color correction का उद्देश्य footage को technically balanced बनाना है।
आप exposure, contrast, highlights, shadows और white balance जैसी चीजों को adjust कर सकते हैं।
उदाहरण:
अगर camera footage बहुत dark है तो exposure और shadows को सुधारना पड़ सकता है।
अगर footage का color बहुत warm है तो white balance को adjust किया जा सकता है।
18. Color Grading क्या है?
Color correction के बाद creative look बनाने के लिए color grading की जा सकती है।
आप अलग-अलग projects के लिए:
- Cinematic look
- Warm look
- Cool look
- Vintage style
- Clean commercial look
जैसे creative treatments तैयार कर सकते हैं Premiere Pro color grading tutorial।
ध्यान रखें कि color grading और color correction एक ही चीज नहीं हैं।
Correction = footage को balance करना
Grading = footage को creative visual style देना
19. Captions और Subtitles
आज social media videos और educational content में captions काफी useful हो सकते हैं।
Subtitles का उपयोग:
- YouTube videos
- Reels
- Shorts
- Interviews
- Tutorials
- Podcasts
में किया जा सकता है।
Premiere में transcription और text-based workflows के माध्यम से spoken content के साथ काम करना आसान हो सकता है।
20. Text-Based Editing
Current Premiere versions में Text-Based Editing workflow available है।
इसका concept यह है कि speech को transcript में convert करके text के माध्यम से rough edit तैयार किया जा सकता है।
Interview और talking-head content में यह workflow विशेष रूप से उपयोगी हो सकता है क्योंकि unwanted dialogue sections को transcript के आधार पर identify करना आसान हो जाता है।
21. Media Intelligence से Footage ढूँढना
बड़े projects में hundreds या thousands of clips हो सकते हैं।
Current Premiere में Media Intelligence powered search workflow natural-language descriptions के आधार पर footage खोजने में मदद कर सकता है।
उदाहरण के लिए आप अपने footage में किसी specific type के shot को खोजने का प्रयास कर सकते हैं।
इस तरह large video projects में footage organization और search workflow faster हो सकता है।
22. Generative Extend
Current Premiere में Generative Extend Adobe Firefly technology के साथ integrated workflow प्रदान करता है।
इसका उपयोग कुछ situations में clip को extend करने, अतिरिक्त frames जोड़ने या ambient audio को lengthen करने के लिए किया जा सकता है।
यह हर editing problem का solution नहीं है, इसलिए generated result को final export से पहले carefully review करना चाहिए।
23. YouTube Video Editing
YouTube video edit करते समय सबसे पहले viewer retention के बारे में सोचें।
एक practical structure हो सकता है:
Hook → Introduction → Main Content → Examples → Conclusion → Call to Action
Long pauses, unnecessary repetitions और irrelevant sections को trim करें।
YouTube editing में clean cuts, readable text, clear audio और consistent pacing अक्सर heavy effects से ज्यादा important होते हैं।
24. Instagram Reels और Shorts Editing
Vertical video के लिए editing approach horizontal YouTube videos से अलग हो सकती है।
Reels और Shorts के लिए:
- Vertical composition
- Fast pacing
- Captions
- Clear subject
- Strong opening
- Short scenes
- Appropriate music
पर ध्यान दें।
Mobile screen पर text आसानी से पढ़ा जा सके, इसका ध्यान रखें।
25. Wedding Video Editing
Wedding video editing में emotion और storytelling सबसे important elements में से हैं।
एक wedding project में आप अलग-अलग sections बना सकते हैं:
Bride Preparation
Groom Preparation
Family Moments
Wedding Ceremony
Couple Portraits
Emotional Moments
Reception
Dance
Highlights
Music और natural audio को story के अनुसार combine करें।
Wedding video में हर shot पर transition लगाने के बजाय emotional moments को breathing space देना ज्यादा effective हो सकता है।
26. Multicam Editing
अगर किसी event को multiple cameras से record किया गया है तो multicam editing workflow काफी useful हो सकता है।
उदाहरण:
Camera 1: Wide Shot
Camera 2: Close-up
Camera 3: Audience / Reaction
इन angles को synchronize करके एक continuous sequence तैयार किया जा सकता है।
यह technique weddings, interviews, conferences और live performances में उपयोगी हो सकती है।
27. 4K Video Editing
4K footage edit करते समय computer performance और storage workflow महत्वपूर्ण हो जाता है।
Adobe की current technical requirements के अनुसार Premiere version 26.0 के लिए HD editing का minimum memory requirement 8 GB है, जबकि recommended configuration में HD के लिए 16 GB और 4K या higher resolution workflows के लिए 32 GB या अधिक memory दी गई है। Actual performance footage, codec, effects और hardware configuration पर निर्भर करेगी।
4K editing के लिए fast storage और suitable GPU भी workflow को smoother बनाने में मदद कर सकते हैं।
28. Premiere Pro Performance Improve कैसे करें?
अगर timeline playback slow हो रहा है तो कुछ practical steps मदद कर सकते हैं:
- Unnecessary applications बंद करें
- Media को organized रखें
- Appropriate preview resolution use करें
- Cache को manage करें
- Fast SSD का उपयोग करें
- Heavy effects को जरूरत के अनुसार रखें
- Long projects को properly organize करें
Editing performance केवल software पर depend नहीं करती; hardware, codec, footage resolution और effects भी important factors हैं।
29. Export Settings कैसे चुनें?
Final video export करते समय सबसे पहले यह तय करें कि video कहाँ publish होगा।
उदाहरण:
YouTube
High-quality landscape video के लिए project और source footage के अनुसार appropriate resolution और codec settings चुनें।
Instagram Reels
Vertical video format को ध्यान में रखें।
YouTube Shorts
Vertical composition और platform requirements के अनुसार export करें।
Client Delivery
Client की requested resolution, codec और file format के अनुसार final file तैयार करें।
Export से पहले video को पूरा देखकर audio, text, cuts, color और missing frames check करना अच्छा practice है।
30. Professional Video Editing Workflow
एक professional workflow कुछ इस तरह हो सकता है:
Step 1: Project planning
Step 2: Media backup
Step 3: Import
Step 4: Organization
Step 5: Rough Cut
Step 6: Fine Cut
Step 7: Audio Editing
Step 8: Graphics and Titles
Step 9: Color Correction
Step 10: Color Grading
Step 11: Effects
Step 12: Captions
Step 13: Final Review
Step 14: Export
Step 15: Quality Check
यह workflow project को organized रखने में मदद करता है।
Adobe Premiere Pro सीखने के लिए Practice Projects
अगर आप वास्तव में Premiere Pro सीखना चाहते हैं तो केवल tutorials देखने के बजाय projects बनाना शुरू करें।
Project 1 – Basic YouTube Video
एक 2–5 minute video edit करें।
सीखें:
- Cutting
- Trimming
- Music
- Text
- Export
Project 2 – Instagram Reel
30–60 second vertical video बनाएं।
सीखें:
- Fast cuts
- Captions
- Music
- Zoom
- Basic animation
Project 3 – Wedding Highlight
एक short wedding highlight तैयार करें।
सीखें:
- Storytelling
- Music synchronization
- Slow motion
- Color correction
- Emotional pacing
Project 4 – Interview
एक interview edit करें।
सीखें:
- Dialogue editing
- B-roll
- Captions
- Audio balancing
- Multicam workflow
Project 5 – Professional Showreel
अपने best shots को एक short showreel में combine करें Premiere Pro audio editing tutorial ।
Adobe Premiere Pro सीखने में Beginners की Common Mistakes
1. हर जगह transitions लगाना
हर cut पर transition जरूरी नहीं है।
2. बहुत ज्यादा effects इस्तेमाल करना
Effects story से ज्यादा important नहीं हैं।
3. Audio को ignore करना
Good visuals के साथ poor audio पूरी video quality को कम कर सकता है।
4. Files organize न करना
Large projects में organization बहुत महत्वपूर्ण है।
5. बिना backup के editing करना
Important projects के लिए backup रखना जरूरी है।
6. केवल tutorials देखना
Tutorial देखने के साथ practical project बनाना भी जरूरी है।
Adobe Premiere Pro Course के बाद क्या सीखें?
Premiere Pro के basic और advanced editing concepts सीखने के बाद आप अपनी skill को अलग-अलग directions में आगे बढ़ा सकते हैं:
- YouTube Video Editing
- Wedding Video Editing
- Reels Editing
- Short Film Editing
- Documentary Editing
- Corporate Video Editing
- Music Video Editing
- Social Media Video Editing
- Freelance Video Editing
इसके साथ motion graphics और advanced visual effects के लिए दूसरे creative tools भी सीखना उपयोगी हो सकता है।
Frequently Asked Questions
क्या Adobe Premiere Pro beginners के लिए suitable है?
हाँ। शुरुआत में interface और editing tools थोड़े complex लग सकते हैं, लेकिन basic cutting, trimming, audio और timeline workflow से शुरुआत करके धीरे-धीरे advanced features सीखे जा सकते हैं।
क्या Premiere Pro से YouTube videos edit कर सकते हैं?
हाँ। YouTube videos के लिए cutting, audio editing, titles, captions, color correction और export जैसे workflows किए जा सकते हैं।
क्या Premiere Pro से Instagram Reels edit कर सकते हैं?
हाँ। Vertical video projects बनाकर Reels और Shorts के लिए suitable editing workflow तैयार किया जा सकता है।
क्या Premiere Pro से wedding video edit कर सकते हैं?
हाँ। Wedding highlights, full wedding films, ceremony footage, music sequences और cinematic edits तैयार किए जा सकते हैं Premiere Pro export settings
Premiere Pro सीखने में कितना समय लगता है?
Premiere Pro video editing
Premiere Pro CC tutorial
Adobe Premiere video editing course
Premiere Pro for beginners
Premiere Pro editing tutorial
learn Premiere Pro
Premiere Pro Hindi tutorial
video editing course
professional video editing
Premiere Pro effects
Premiere Pro transitions
Premiere Pro color grading
Premiere Pro audio editing
Premiere Pro export settings
Premiere Pro 4K video editing
Premiere Pro reels editing
Premiere Pro YouTube video editing
Premiere Pro 4K video editing
Premiere Pro AI video editing
यह आपके practice time और previous editing experience पर निर्भर करता है। Basic editing जल्दी सीखी जा सकती है, जबकि professional-level editing के लिए लगातार project-based practice की जरूरत होती है Adobe Premiere Pro tutorial for beginners ।
क्या Premiere Pro में AI tools हैं?
हाँ। Current versions में AI-powered tools और workflows उपलब्ध हैं, जिनमें Object Mask, Generative Extend, Media Intelligence, Text-Based Editing और Enhance Speech जैसे features शामिल हैं Premiere Pro full course in Hindi ।
क्या Premiere Pro में 4K video edit कर सकते हैं?
हाँ। 4K workflows supported हैं, लेकिन performance आपके processor, RAM, GPU, storage, footage codec और project complexity पर निर्भर करेगी। Adobe की current requirements में 4K और higher-resolution editing के लिए 32 GB या अधिक memory recommended configuration में दी गई है।
क्या Premiere Pro से professional video editing सीखी जा सकती है?
Premiere Pro video editing tutorial Hindi हाँ। Software के tools सीखने के साथ storytelling, pacing, audio, color, composition और project workflow पर practice करना professional editing skills विकसित करने में मदद कर सकता है।
Final Words
Adobe Premiere Pro video editing tutorial Hindi सीखना केवल software के buttons और effects याद करने का नाम नहीं है। एक अच्छे video editor को storytelling, timing, sound, color, composition और audience experience को भी समझना होता है।
अगर आप beginner हैं तो पहले basic cutting और timeline editing सीखें। इसके बाद audio, transitions, text, animation, color correction, masking और advanced workflows की तरफ बढ़ें।
सबसे important बात यह है कि केवल tutorials देखने के बजाय अपने projects बनाएं। जितना ज्यादा आप real footage पर practice करेंगे, उतना ही आपका editing workflow improve होगा।
इस Adobe Premiere Pro Tutorial in Hindi को आप एक starting roadmap की तरह इस्तेमाल कर सकते हैं और धीरे-धीरे YouTube videos, Reels, Shorts, wedding films, interviews और professional video projects पर practice कर सकते हैं।